|
This week we wrapped up the closet! New floors, repaired walls, new storage, and an archway into the bedroom… all right before a MAJOR congratulations for my sister, who is wrapping up her Masters degree right now! So, we decided to take the pressure off and pause here instead of tear apart her bedroom when she’s hosting multiple things in the next few weeks. At first I planned to have everything done by Week 6, pause week 7, and do any last minute touches week 8. And while that works great for me, there is no need to pile on the pressure when we can take a break! I have a few things I can crack into at home in the meantime. So, starting this weekend and through the end of the One Room Challenge, I'll be working on my kid's room! I recently wrapped up their twin's bedroom, and his is up next.  That doesn’t mean there aren’t other projects making their way over the halfway mark, and proceeding as planned! Check out the other projects happening in the One Room Challenge, and the updates for this week! Big thanks to the ORC sponsor, Apartment Therapy. Don’t miss where we started with this project, and the progress we made last week. 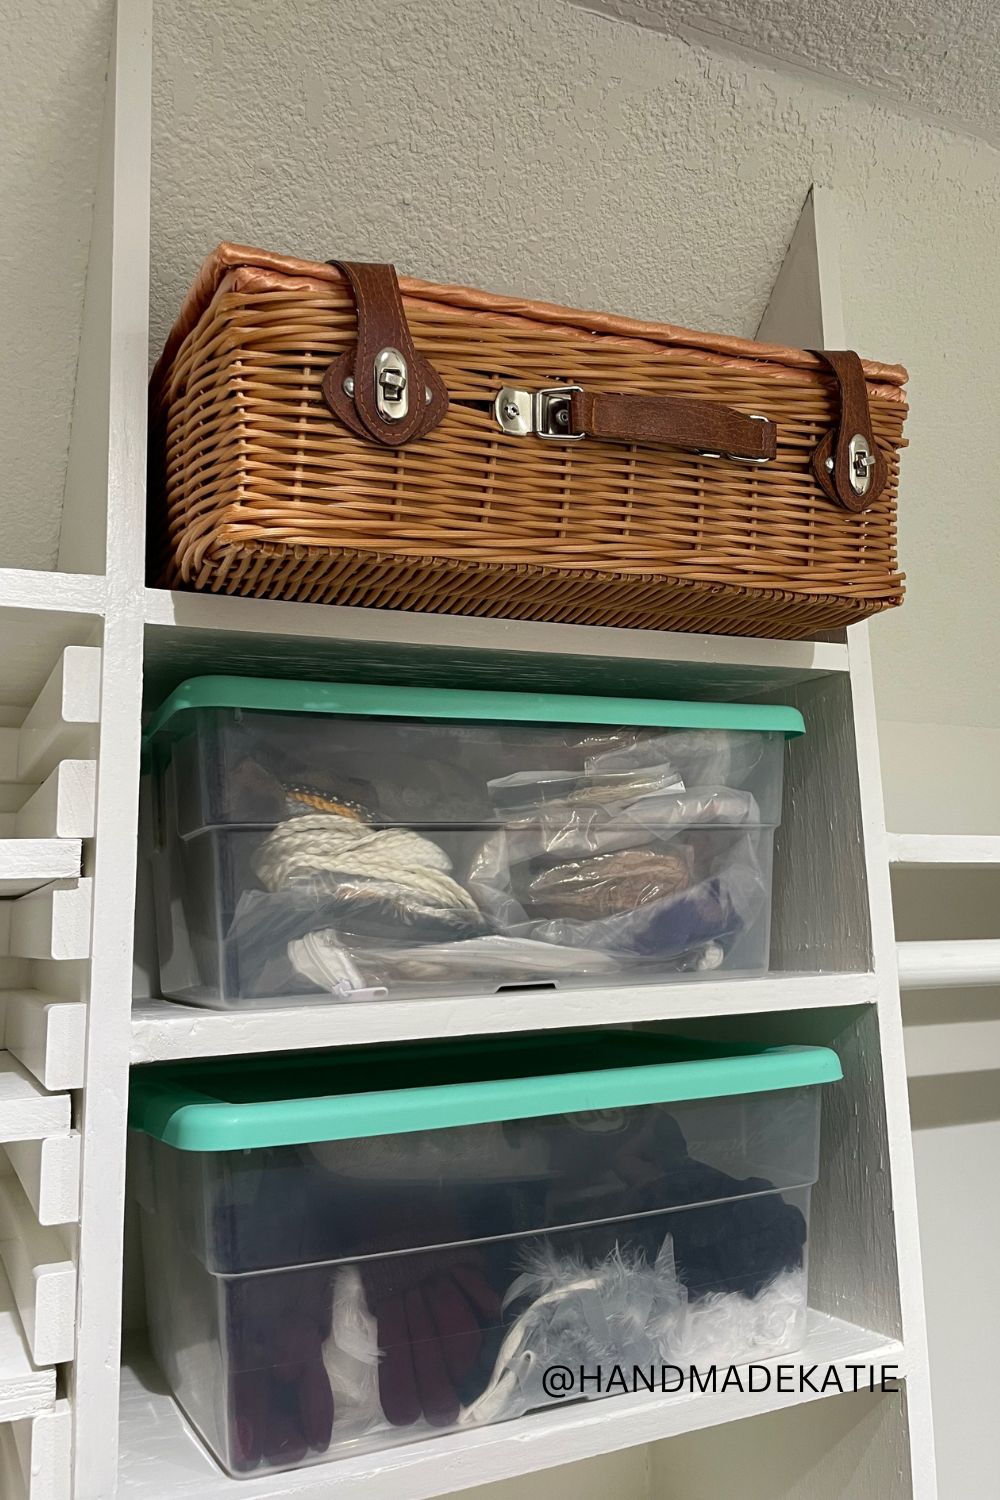 Closet StorageWe worked again on getting the open storage system built to fit exactly what she needed in this closet. Mimicking the vertical panels on the other side, this side has a section of eight shelves all equally spaced for existing storage bins. This kept these easily accessible while maximizing the storage space. With those in, I was able to add the standard height hanging rod and another high shelf at the back of the closet. At the front, we designated a lot of space for shoes. The biggest thing we wanted to do was to make the shoe area as adaptable as possible. So, we created a system of slatted storage that allows the shelves in the shoe section to be easily moved to fit the size of each pair. We also changed up some of the shelves to have a rounded corner detail that matches an arched shelf in the bathroom, and brings in more of the rounded lines from 1940s designs. 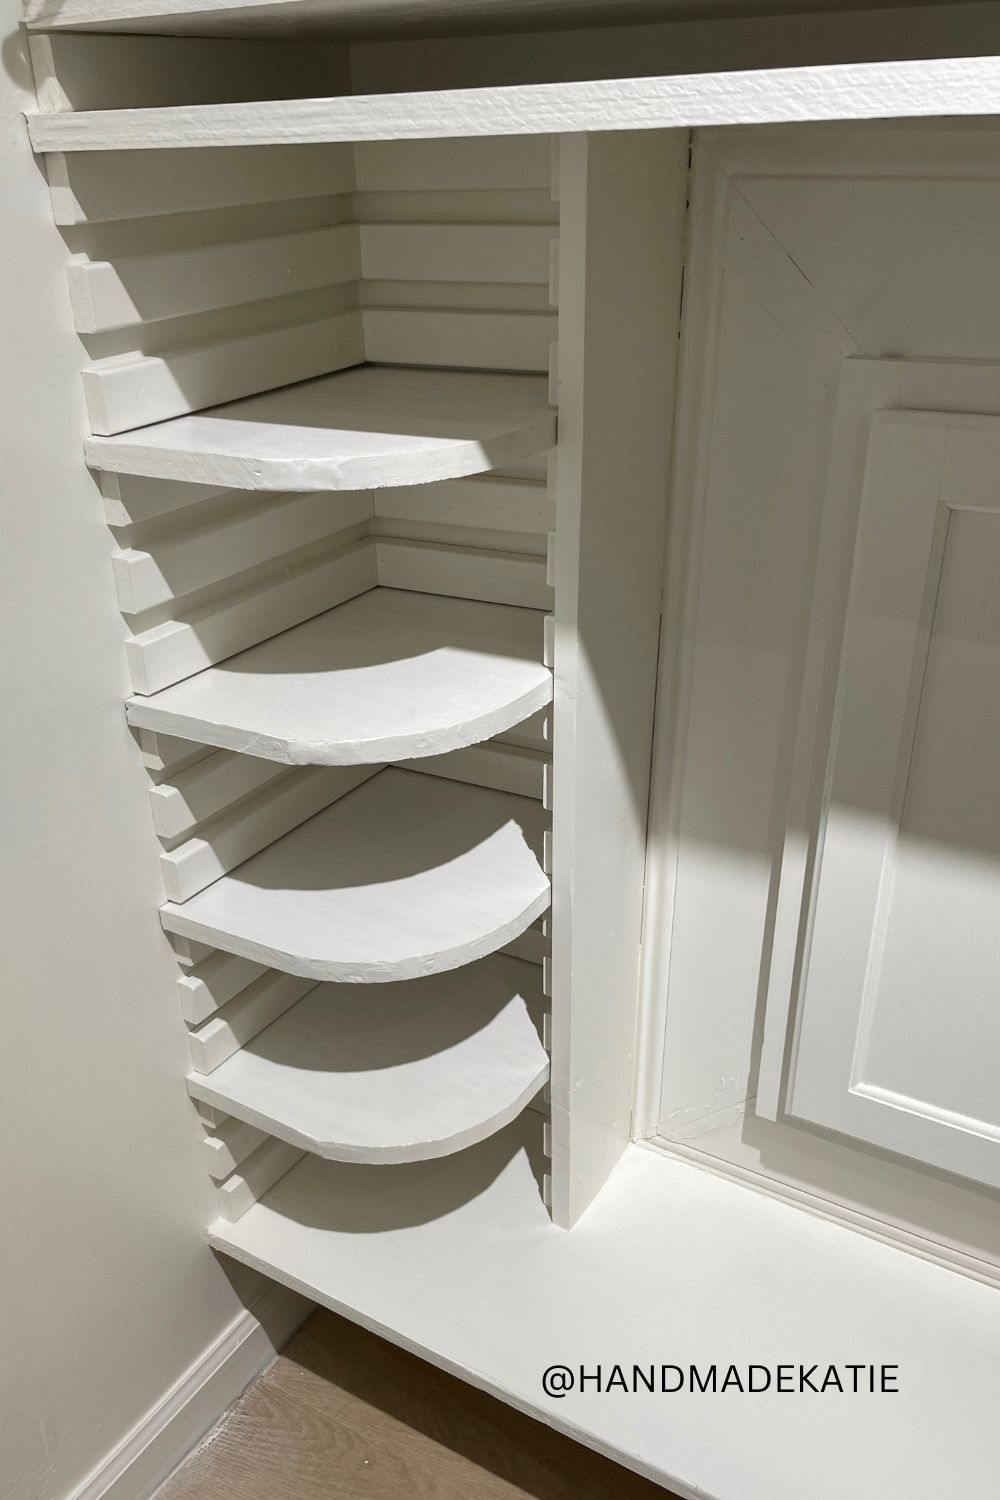 Arched OpeningThe closet before had a door that really caused two big problems in the room: it divided the dressing area into parts, and it prevented airflow for heat and cooling to move throughout the closet. So, we decided to change it from a hollow-core door to an arched opening that mimics the two arched openings on the main floor, almost directly underneath this spot. By keeping the process simple, it wasn’t a terribly hard task: We started by tracing the existing arch on cardboard and cutting it out to make a template. I then used scrap drywall and lumber from my house to shape and structure the arch. Then, over each corner, I used corner bead. I added cuts about every two inches where the bead would need to flex around the curve of the arch. With a little drywall mud, it was finished much more quickly than I anticipated. 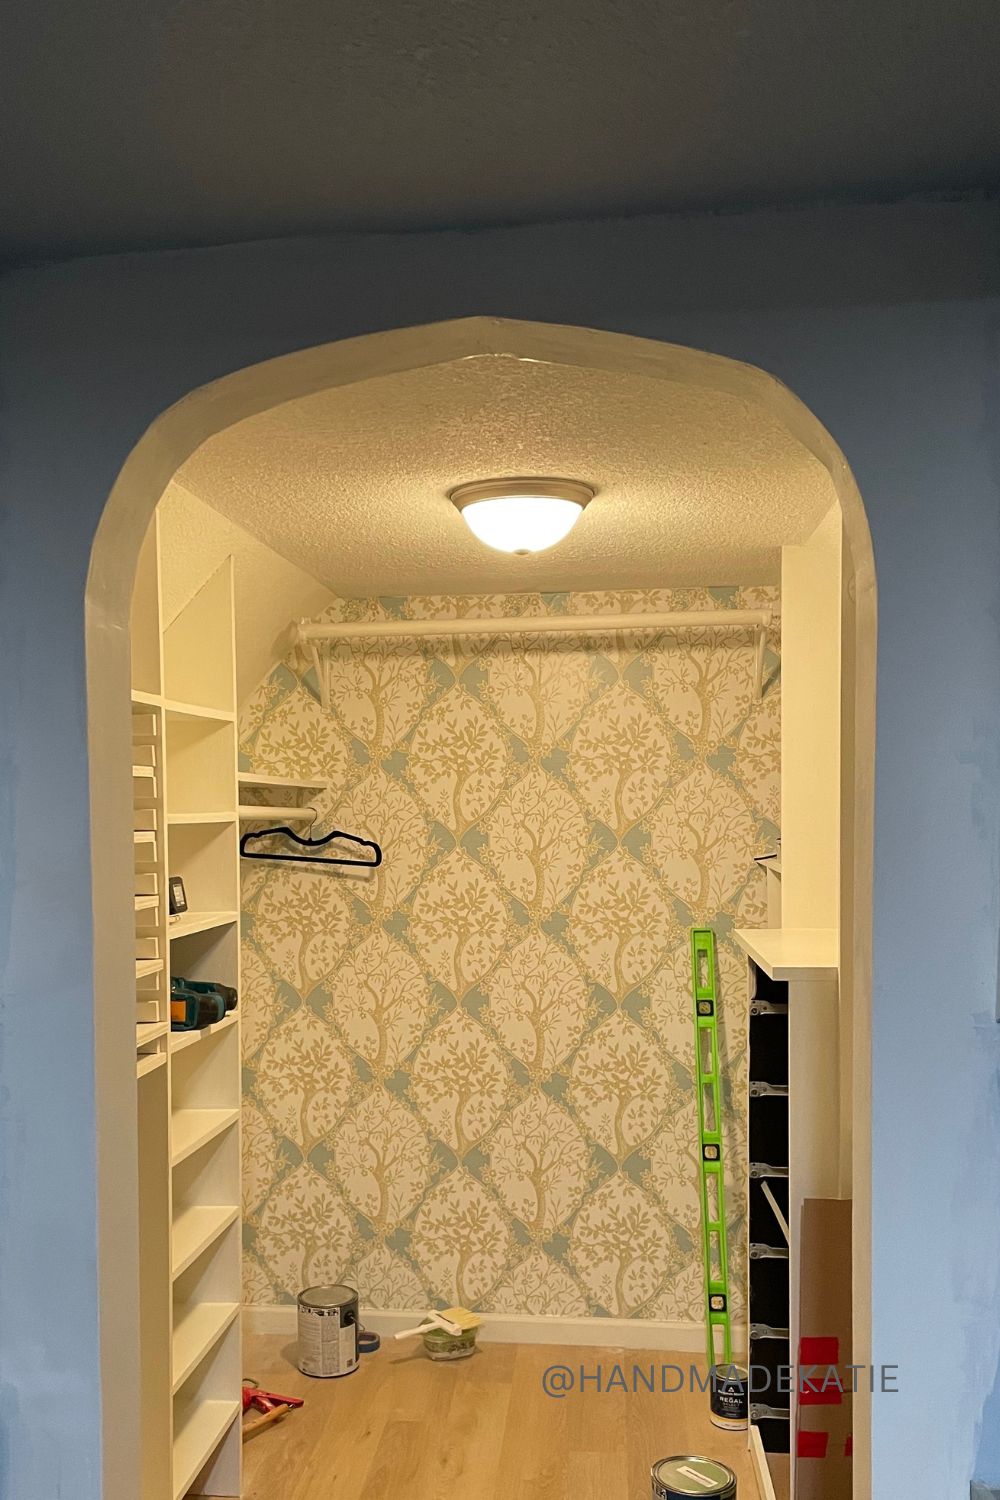 Finishing TouchesSince the closet build is done, we started adding some of the finishes to the space, and more will trickle in as the storage moves in. I added the wallpaper detail above the built in dresser, and we used some additional items to keep things organized. Of course, we also redid a bit of the ceiling and removed the boob light. While track lighting isn’t a personal stylistic favorite, it works really well in a closet. The function is exactly what this needs, and the brass is lovely in this space. 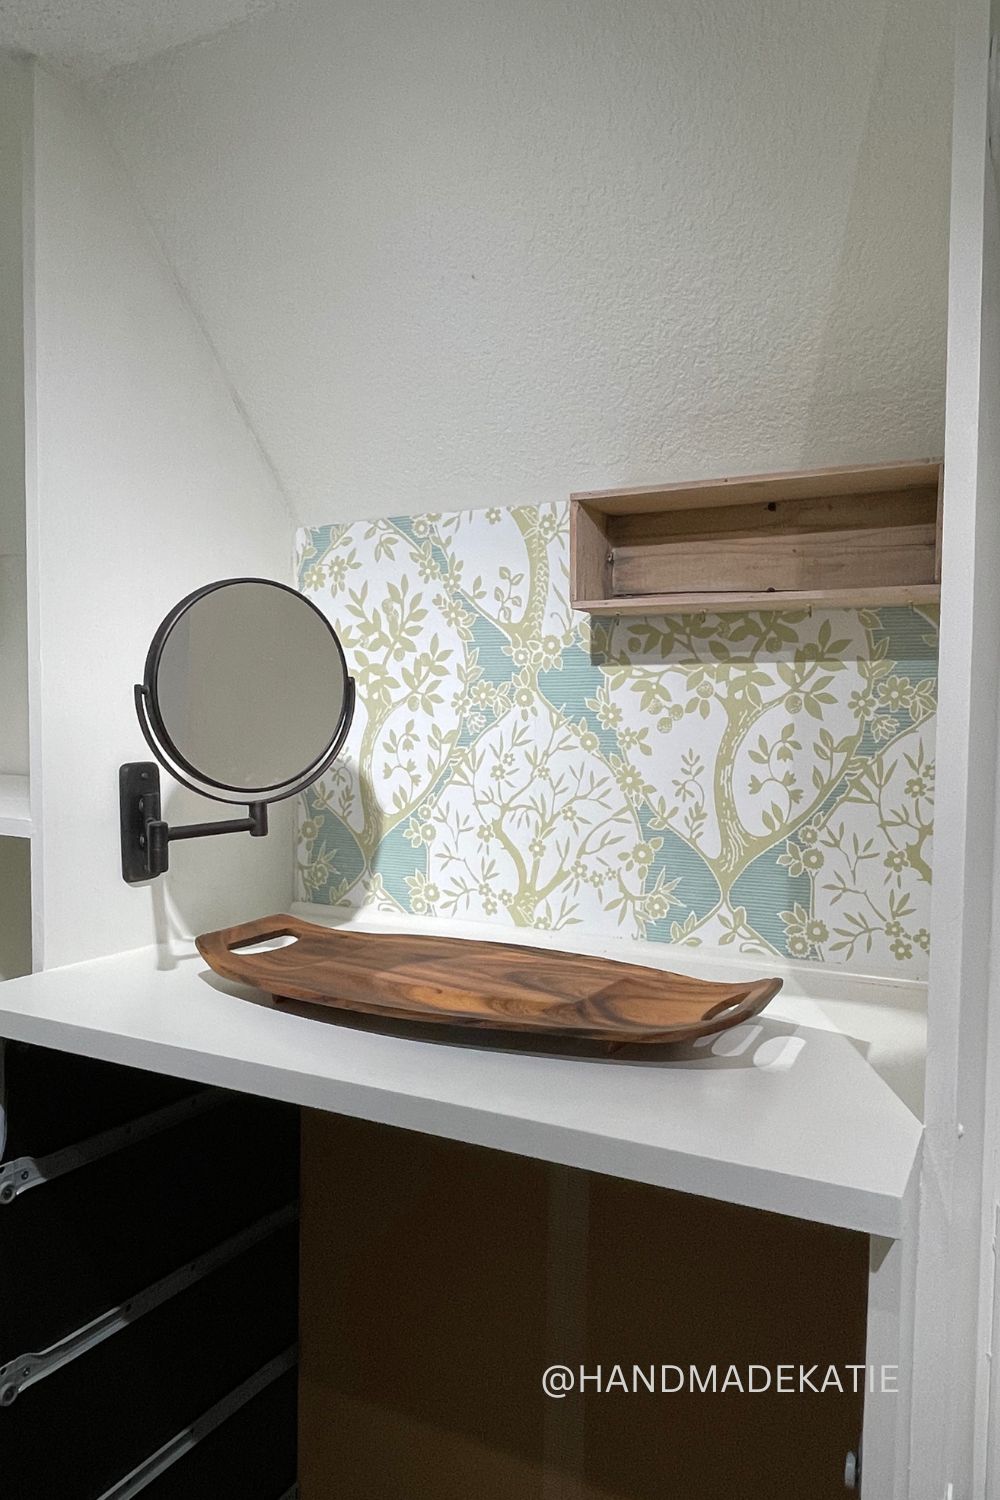 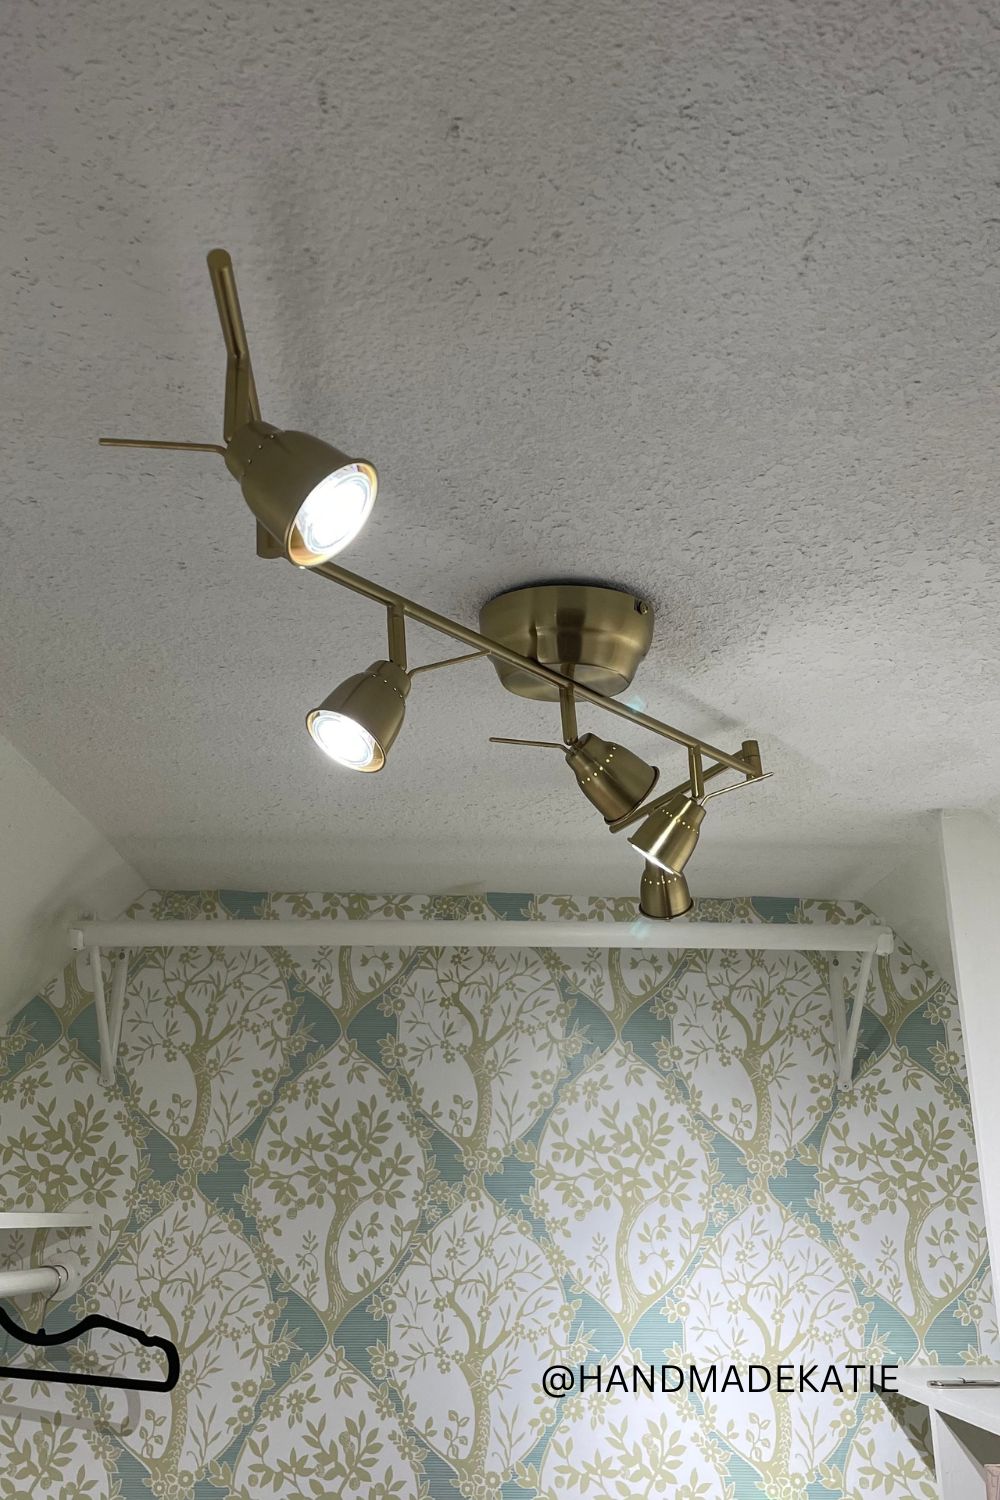
1 Comment
|
Katie SwansonI am a parent, creative spirit, and old house lover. My big passions are sustainable design and preservation. Bringing these together is key to moving existing homes into the future. * By subscribing to the monthly newsletter, you consent to receive links this month's blog posts and other relevant blog updates, a round up of things I love, and as a throwback to my DIY days, I may toss in an exclusive knit or crochet pattern of mine. Archives
May 2024
Categories
All
|
 RSS Feed