|
We’re moving into the third week of the official One Room Challenge Timeline! And we made big strides this week in the closet. The custom designed closet system is coming together! And I am so excited with how this side turned out, and happy for my sister to have something that is going to function exactly for her needs. While it includes a lot of long term storage, the open storage is a game-changer in this case! And more closed storage will come later when we wrap up the bedroom. The construction has been fairly straightforward, as I used plywood and MDF to get the structure in place. While I had hoped to have the whole thing finished this week, I’m happy to have half. We stalled out because the weather was too good to work on Saturday, and with the end of Spring Break for my big kids and a migraine in my sister’s head… it was a much needed break from the hustle. Then I slowed a bit on Tuesday for the opposite reason: it was pouring rain. But the first side is wrapped up, all the rip cuts are done, and the next side should be pretty quick now that I have a good system in place.  There are a ton of other projects happening right now too as part of the One Room Challenge sponsored by Apartment Therapy. I’ve been filing closet storage and bedroom ideas away mentally for a long time through projects on their sites. Head over here to check out this week’s challenge updates! Check out the scope of our current project, and see a little more of this primary suite in last week’s post! 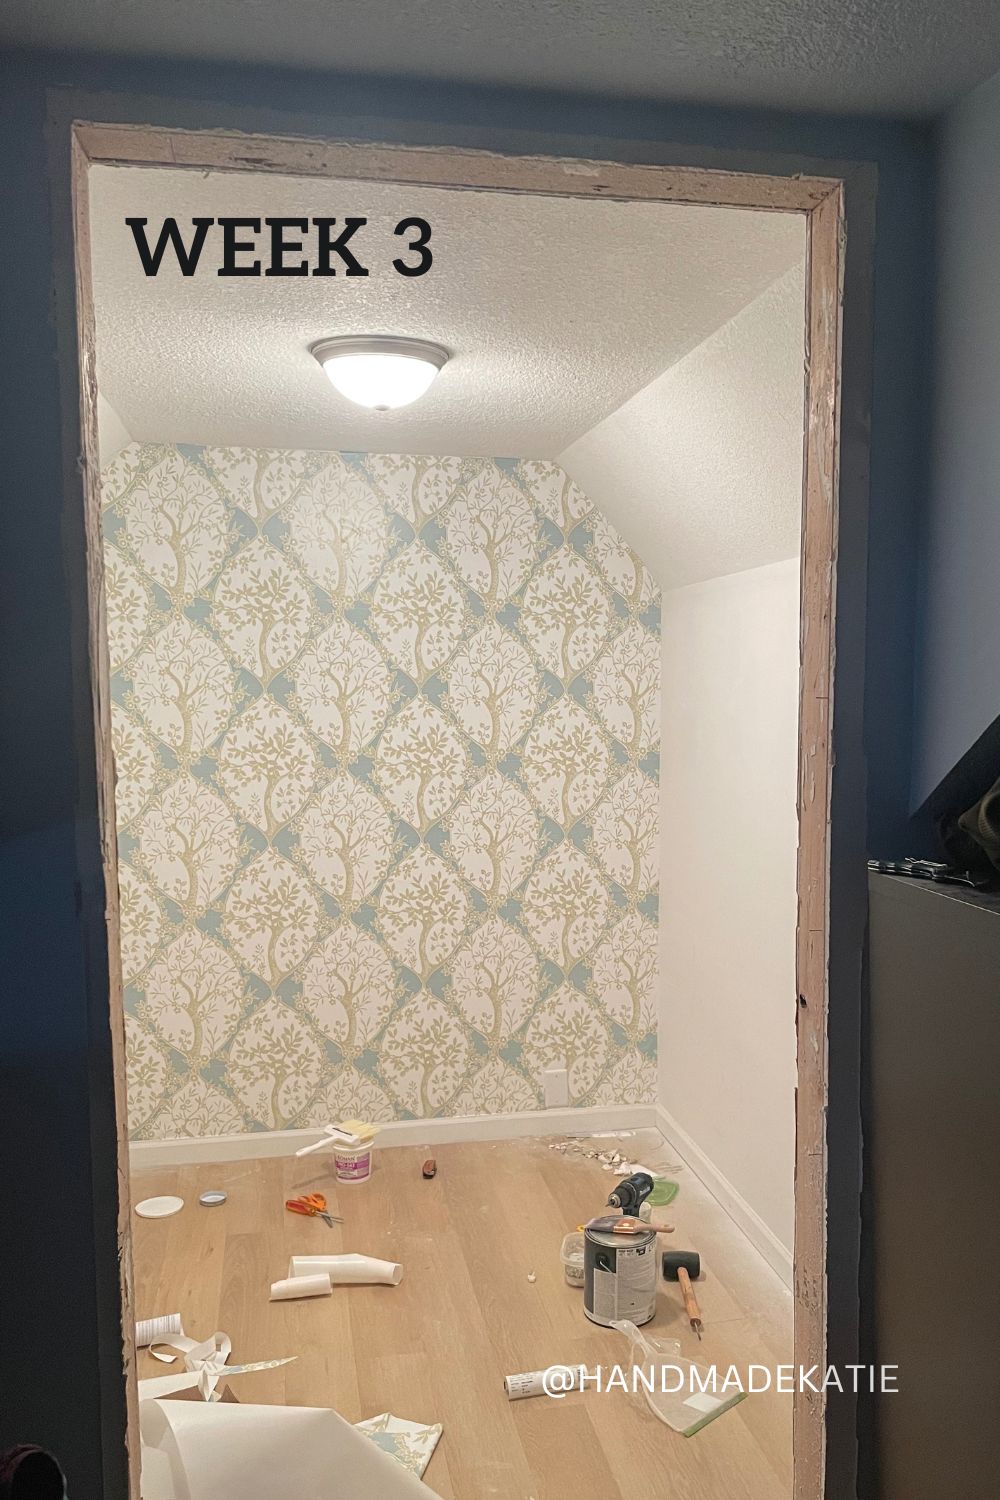
0 Comments
I’m coming to the One Room Challenge party a week late, because I promised the kid I’d wrap up their bedroom before starting another project (with moving the office out, getting the laundry, and tearing up the library… It was almost three project starts in one). And this round, I’m really moving out of my own house and helping finish the primary suite for my sister and her husband. I’m really excited to be brought back in after working on their bathroom last year, and I’m looking forward to cracking into their closet and refreshing the bedroom. While their bedroom works in most ways, the primary suite is a full half-story with a lot of challenges all their own. The biggest focuses are the closet, stairs, and floor, with a few layout tweaks here and there too. There is a lot to love about working this project out as part of the One Room Challenge, to start, it helps me to build the whole project into an 8-week timeline. We’ve been talking about this for a while, and the structure is a huge help! I also really love the community to push through the project with! See Week 1 project beginnings here: Week 1 See Week 2 project updates here: Week 2 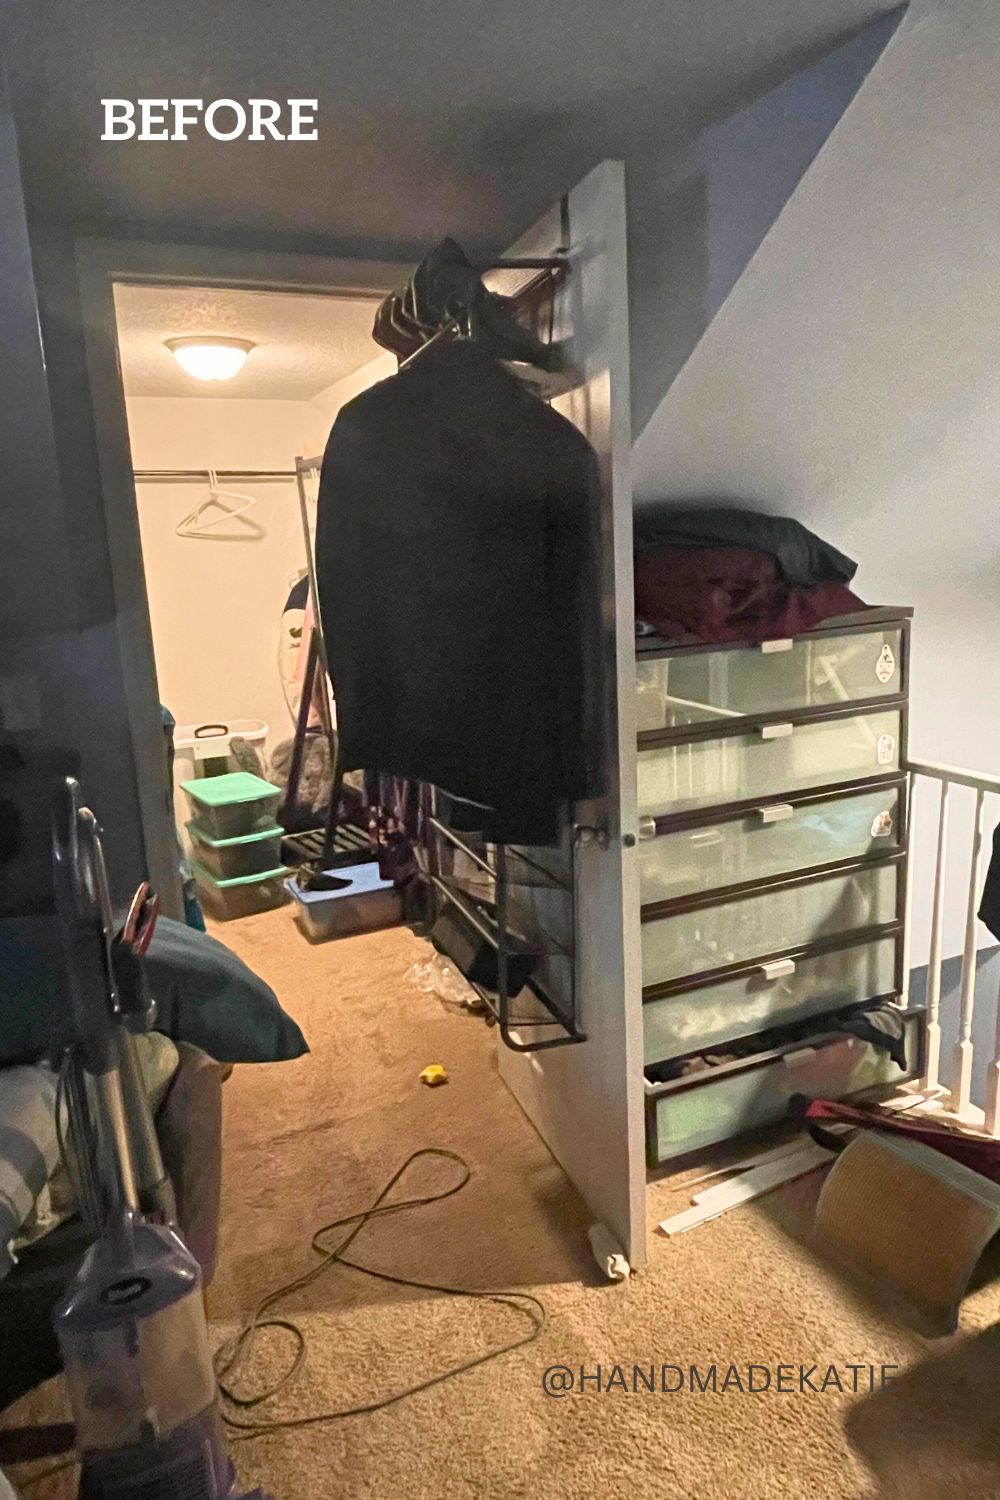 It’s done! My big kids officially have their own bedrooms and are claiming them as their own! While I still have another one to do, the Heavy Metal Cat Party is going to wait a little bit, while I tackle a different space for the One Room Challenge at my sister’s house (and to be honest so we can reign in a bit of the chaos here). The Dinosaur Garden has turned out exactly how I envisioned! It’s a calm space where our kid can take a break from their siblings and get a moment to focus on their needs. I definitely leaned into the natural vibes in this room with not a small number of plants (most are clever fakes, but the snake plant is real!), incredible floral wallpaper, and a room practically bathed in green. 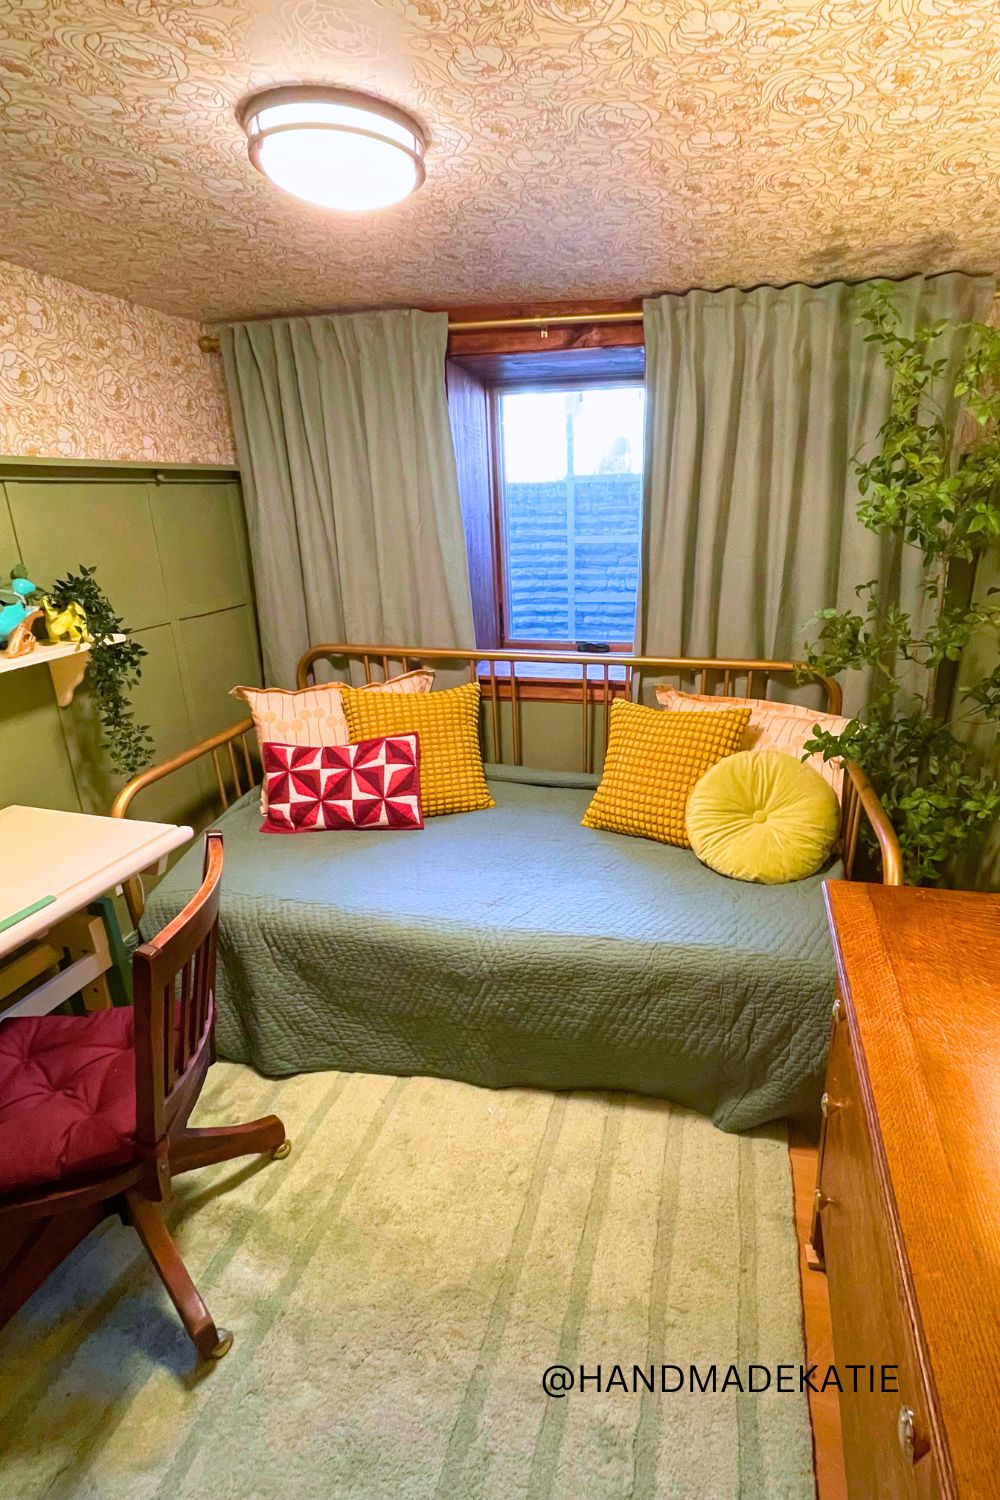 Once I had the pocket doors hung on the tracks, I had to make the actual pocket for the doors to slide into, and officially close this room back off to the rest of the basement. The side of the wall I completed is the side that sits inside the room. Since I’ll be demoing and reconfiguring for the library and the closet later, the other side will come then. For now, getting the room finished is top priority. With the doors hung and leveled, I used the doors themselves to really figure out exactly where the pocket needed to be for the doors to sit in their tracks just beyond the plate rail on the two side walls. I used my grandpa’s door jamb level to make sure the new wall was plumb, and mark exactly where the framing needed to be. 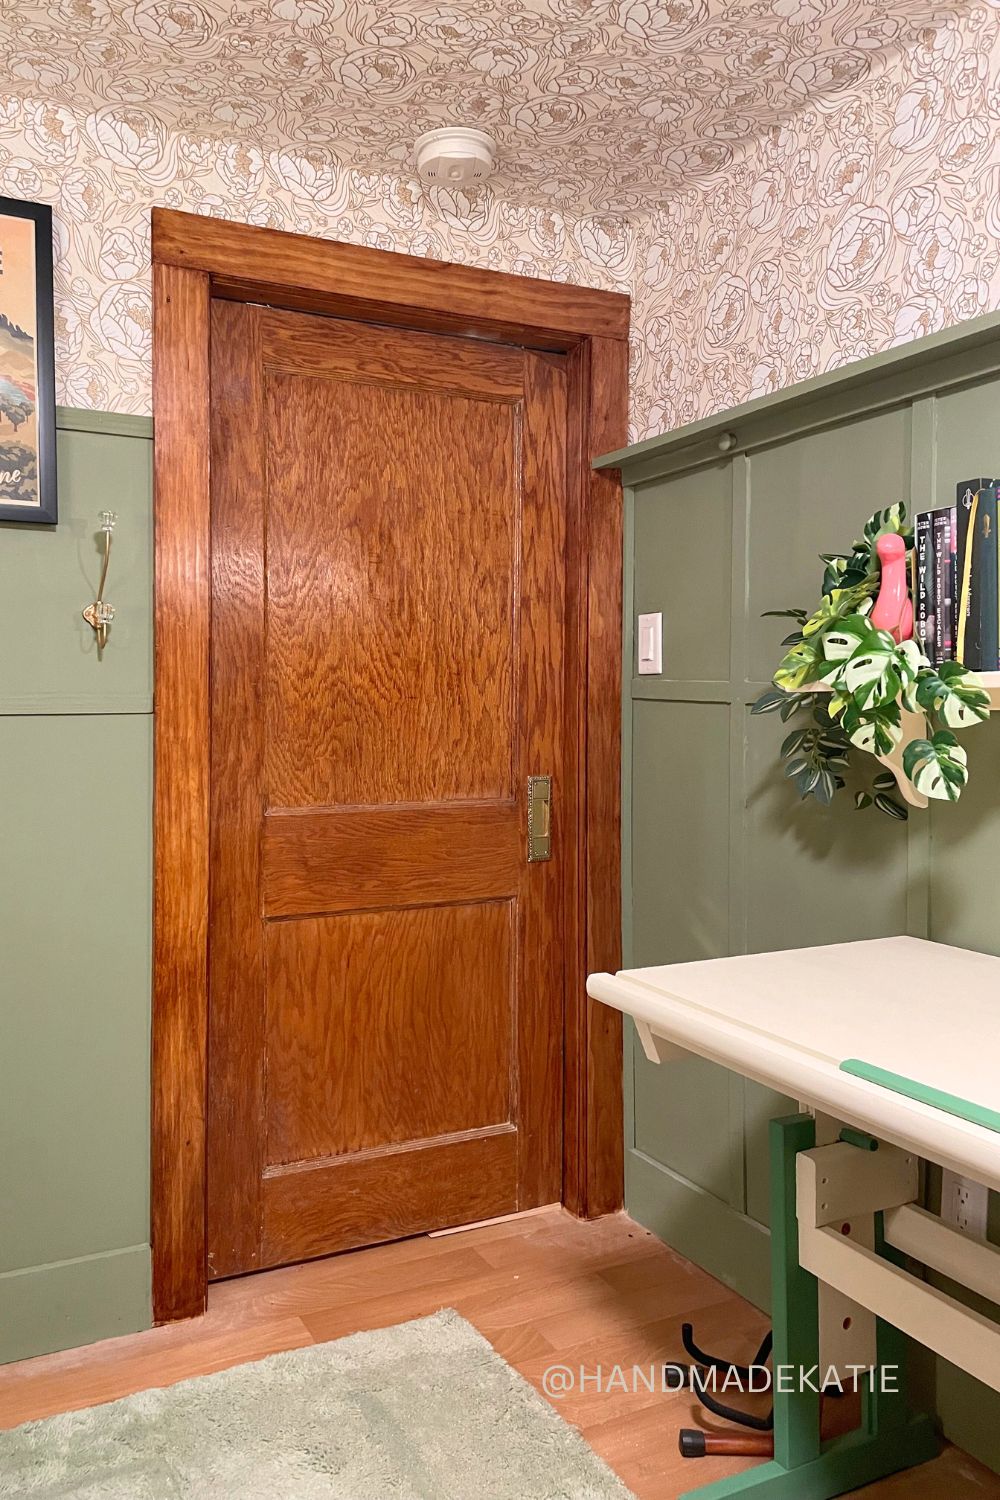 The new doors are done, and they are in! When I decided to change this to a bedroom and move the doorway, the biggest challenge was figuring out the doors to the room and the closet. While I had the doors on hand, I wasn’t worried about getting them refinished (I’ve refinished every door in our basement.), I was concerned about how door swings would project into a small bedroom. With these two doors swinging into the room, the light switch would be behind the bedroom door, or the door would swing awkwardly into the middle of the room -an issue remedied last year in the upstairs bedroom. I wanted to make sure how we installed the door really worked for what we needed in the room. So, I decided to hang these as pocket doors! 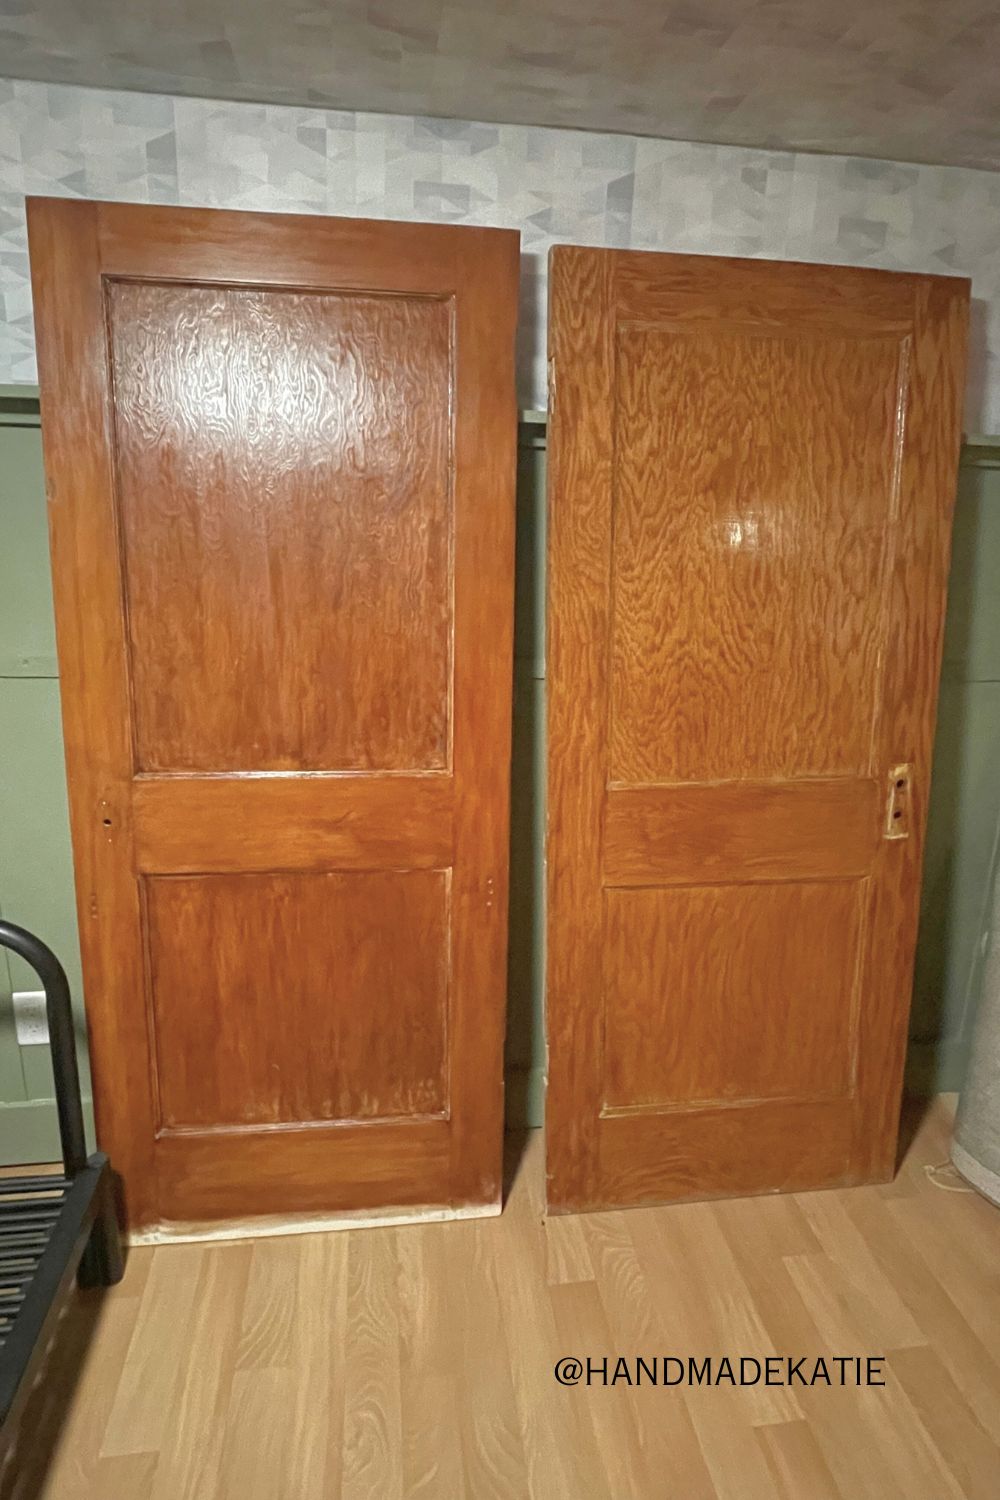 |
Katie SwansonI am a parent, creative spirit, and old house lover. My big passions are sustainable design and preservation. Bringing these together is key to moving existing homes into the future. * By subscribing to the monthly newsletter, you consent to receive links this month's blog posts and other relevant blog updates, a round up of things I love, and as a throwback to my DIY days, I may toss in an exclusive knit or crochet pattern of mine. Archives
May 2024
Categories
All
|
 RSS Feed